
SHIGEKI ENGLISH STORYEN
Japanese history in English
The Anglo-Satsuma War: From the Road at Namamugi to Gunfire in Kagoshima Bay
The shogunate responded, but negotiation with Satsuma remained. Follow the incident, demands, arrival and fighting through the time around the gunfire.
How did the Namamugi Incident of 1862 lead toward fighting in Kagoshima Bay the next year? Different responses by the shogunate and Satsuma, seven arriving ships, seizure of domain vessels, losses on both sides and postwar negotiations provide a sequence for reading the Anglo-Satsuma War.
At a glance
Before you enter the story
- When
- The Namamugi Incident in 1862, the fighting in 1863, earlier industrial work from 1851, and facilities dated 1865 and 1867. Bunkyū month-and-day dates retain the historical calendar.
- Where
- The Tōkaidō at Namamugi, now in Yokohama’s Tsurumi Ward; political journeys through Kyoto and Edo; Kagoshima Bay, Hirakawa, Maenohama and the Shūseikan setting.
- Key figures
- Shimazu Hisamitsu, Shimazu Tadayoshi, Shimazu Nariakira
- What was at stake
- Why one response did not settle all demands, how seizure developed into bombardment, and what losses, promises and continuing work reveal beyond a simple verdict of victory or defeat.
Why this story matters
The larger history behind the turning point
A conflict becomes easier to understand when its stages are retained. Distinguishing the shogunate from the domain explains why demands continued; distinguishing a promise from its execution prevents a negotiation from becoming an invented completed event. Reading industrial work before and after the fighting also connects later changes with an undertaking that already existed.
Historical context
What an international reader needs to know
A shogunate, a domain and two distant settings
Bakufu is rendered as shogunate, while han is rendered as domain. They are distinct recipients of British demands in the accounts used here. Hisamitsu’s effective power within Satsuma, Tadayoshi’s office as lord and the shogunate’s role in foreign negotiations should not be compressed into one position. This distinction is necessary for following the differing responses.
Namamugi belongs to the road setting near Yokohama; Kagoshima Bay belongs to Satsuma’s southern setting. The journey from an incident in one place to fighting in the other passes through demands, responses and dispatch of a fleet. The article follows that documentary sequence without inventing a precise travel itinerary or treating the two places as one battlefield.
Reading dates, promises and technical change
Bunkyū dates retain the calendar used in Japan at the time. The source explicitly pairs the incident with September 14, 1862 and the opening of the artillery battle with August 15, 1863. Sixth-month arrival dates should therefore remain sixth-month dates rather than being silently relabeled June in the Gregorian calendar.
A promise to pay, search or execute describes an undertaking in negotiation. It does not, by itself, document what was subsequently done. The same care with sequence applies to industry: Nariakira’s initiative from 1851, losses in 1863 and facilities built in 1865 and 1867 belong to connected but distinct stages. Present heritage buildings do not all represent the prewar site.
Watch the film
See the story in motion
The film currently uses Japanese audio. This English article provides the context and source trail; it does not imply that an English subtitle track is available.
Chapter 01
The road leading toward the bay
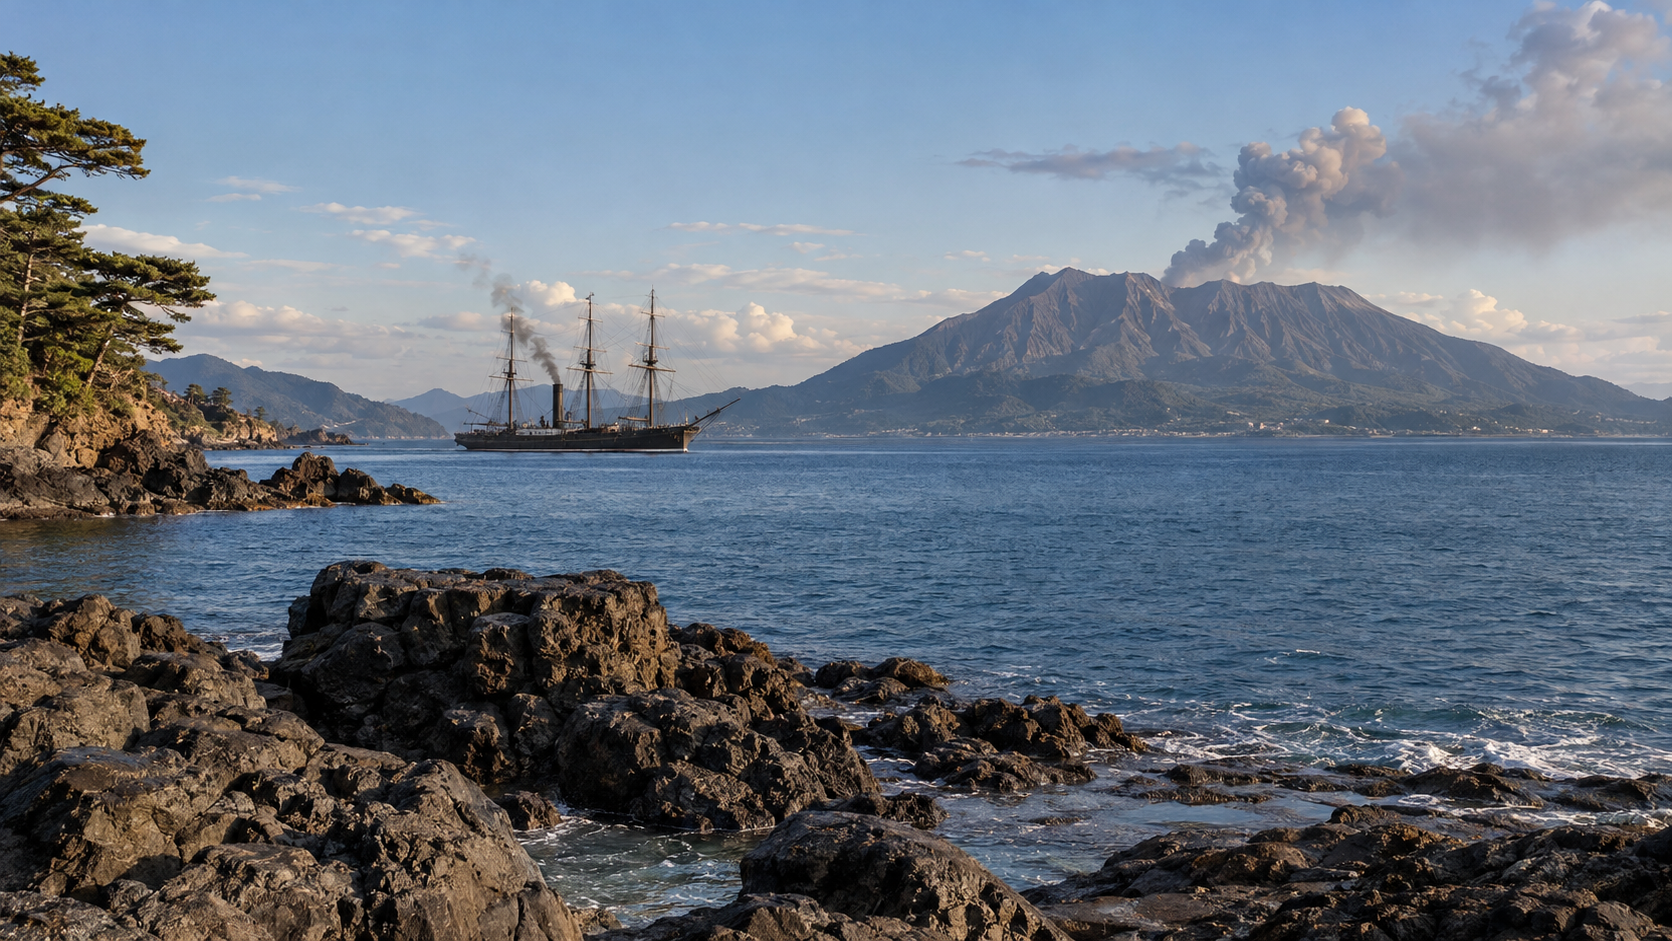
In 1863, the Satsuma domain and a British fleet exchanged gunfire in Kagoshima Bay. Ships afloat faced coastal batteries. Yet following the origins of this confrontation takes us back to the Tōkaidō road in the preceding year, far from the waters where the fighting would occur.
British people were killed or wounded in an incident at Namamugi village. Demands for compensation followed, and the shogunate and Satsuma responded differently. The shogunate’s response did not settle every negotiation. A fleet eventually pressed the demands directly upon Satsuma, bringing the dispute into the bay.
Seeing a line running naturally from the incident to bombardment obscures the demands and responses in between. Who was asked to do what? Where did discussion continue? What action became the immediate occasion for fighting? These questions make the intervening sequence visible instead of treating war as an automatic consequence.
This article follows the road incident, the fleet’s arrival, seizure of ships, bombardment and negotiations afterward. Considering damage to the castle town and factories alongside losses in the fleet, it reads a conflict whose course cannot be contained in a single declaration of victory or defeat.
Chapter 02
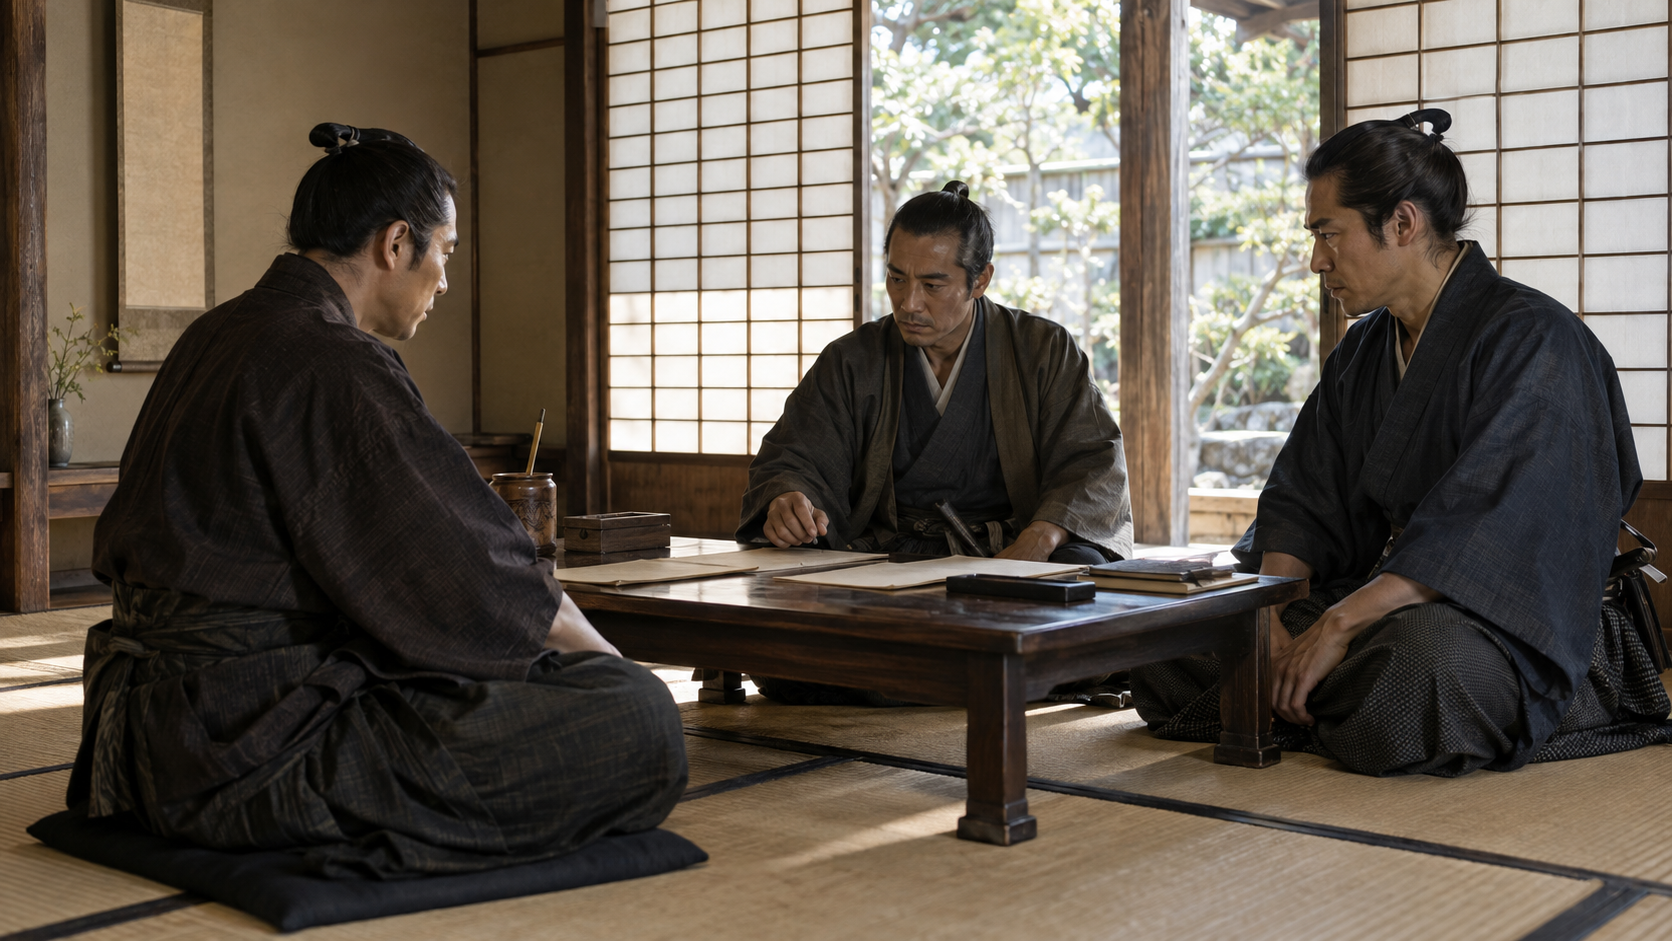
Hisamitsu and Tadayoshi: distinct positions
Before the incident, Hisamitsu’s position needs to be established. The National Diet Library explains that after his eldest son Tadayoshi became lord, Hisamitsu held effective power in the domain under the title kokufu. He should not be given the same office as the person who was lord at the time.
In 1862, Hisamitsu led domain troops to Kyoto and then pursued reform of the shogunate in Edo. The Namamugi Incident is connected with the party’s journey back from Edo. The path toward the fighting in Kagoshima Bay therefore also passes through political activity outside the domain.
The road traveled by the party and the bay subsequently entered by the fleet were far apart. For that reason, a narrative set entirely on Kagoshima’s waters cannot fully explain why British demands were directed at Satsuma. The connection between the two places needs to remain part of the story.
Hisamitsu exercised effective power; Tadayoshi was lord; the incident occurred during the party’s return. Keeping those positions and that sequence distinct also allows us to recognize Tadayoshi’s later appearance at military training without confusing the two men. Their family connection did not make their offices interchangeable.
Chapter 03
A life lost at Namamugi
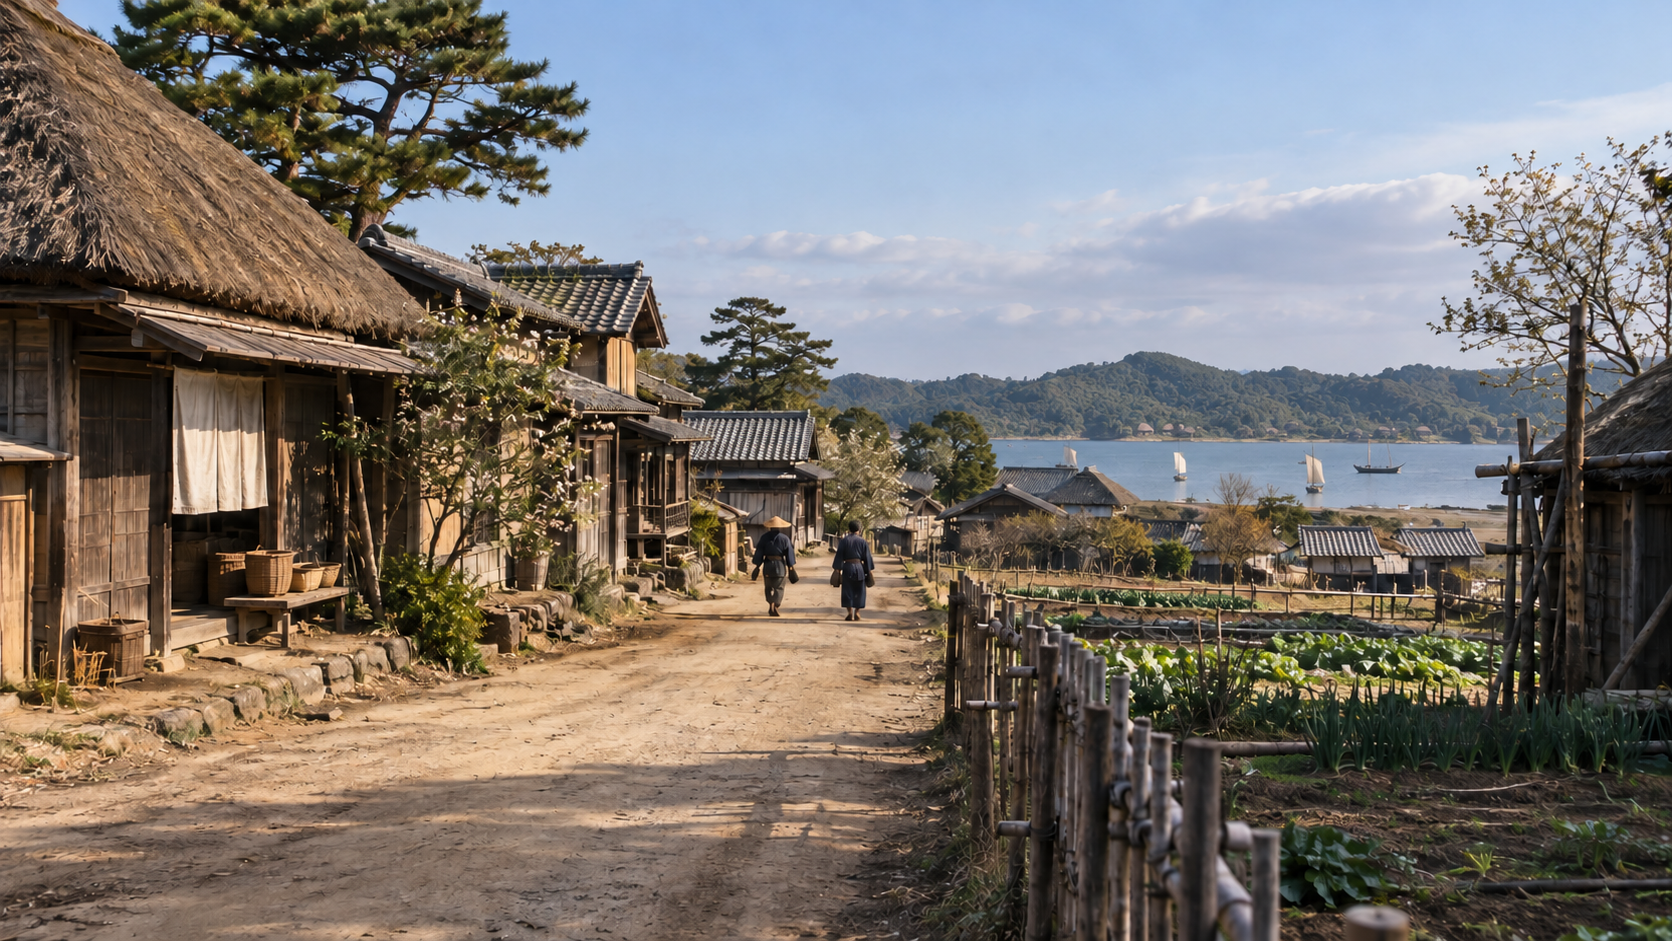
The Namamugi Incident occurred on September 14, 1862, or the twenty-first day of the eighth month of Bunkyū 2 in the calendar then used in Japan. The Japan Center for Asian Historical Records supplies both dates. Month-and-day labels in the Bunkyū era retain that historical calendar throughout this article.
The location was Namamugi village, in what is now Yokohama’s Tsurumi Ward. JACAR’s explanation describes Hisamitsu’s party encountering four British riders and domain retainers attacking them with swords. The merchant Richardson died, and two others were seriously wounded. Those consequences belong at the center of the incident’s account.
Reading an explanation of the encounter with the procession is different from treating the killing and injuries as justified. Before moving toward negotiations or war, the account should retain the fact that a person lost his life and others were wounded. The later diplomatic sequence does not remove those human consequences.
A Tsurumi Ward webpage introduces the Namamugi Incident monument, which mourns Richardson’s death. It also provides evidence of how the incident was remembered afterward. This article does not reproduce its inscription or the institutional photographs, and does not expand into uncertain details of the place-name’s origin or the monument’s construction date.
Chapter 04
Demands addressed to two parties
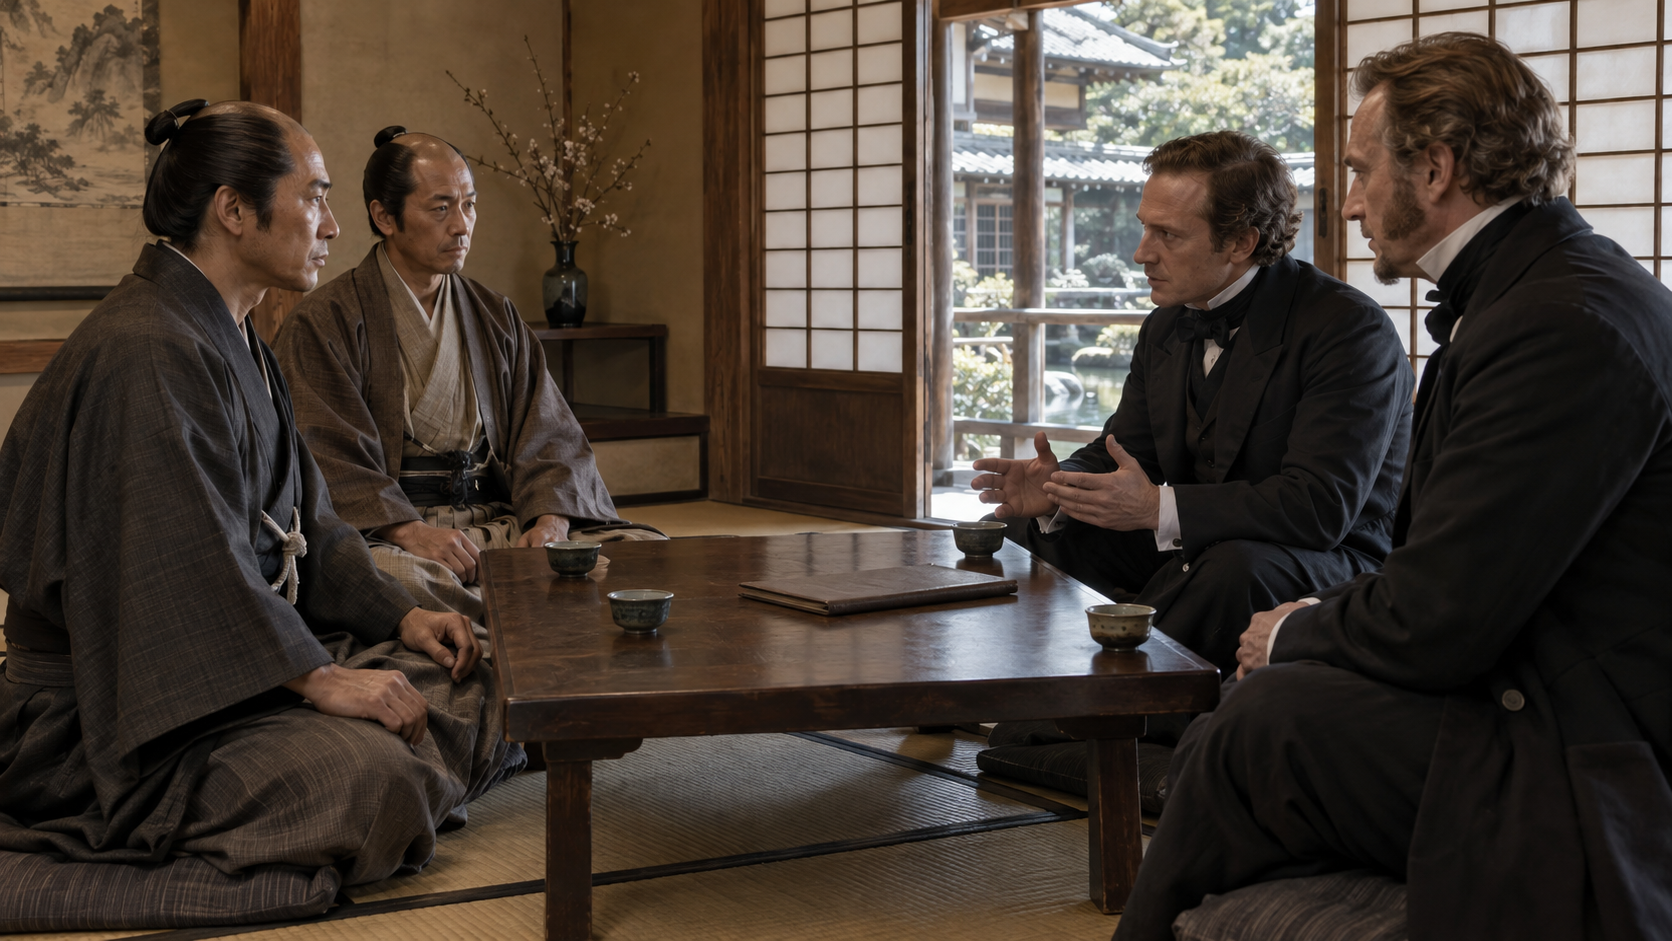
In the second month of Bunkyū 3, Britain sought compensation from both the shogunate and the Satsuma domain through the acting representative Neale. There was more than one recipient of the demands. That distinction is essential for understanding why the dispute did not end with one response.
JACAR explains that in the fifth month the shogunate responded to the compensation demand while Satsuma rejected the demands directed at it. Combining the requests to the shogunate and Satsuma into a single completed payment conceals the reason negotiations continued. Their responses need to be followed separately.
A response by the shogunate, which conducted negotiations with foreign powers, did not mean that the required response from the domain involved in the incident had also been completed. Demands addressed to two parties had received different answers. A settlement with one did not by itself close the other dispute.
The dispatch of a fleet to Satsuma followed this gap. The present account does not claim a complete reading of the original diplomatic correspondence. It uses the official explanations of the demands and differing responses to establish the sequence leading toward the fleet’s arrival.
Chapter 05
Seven ships arrived, but discussion continued
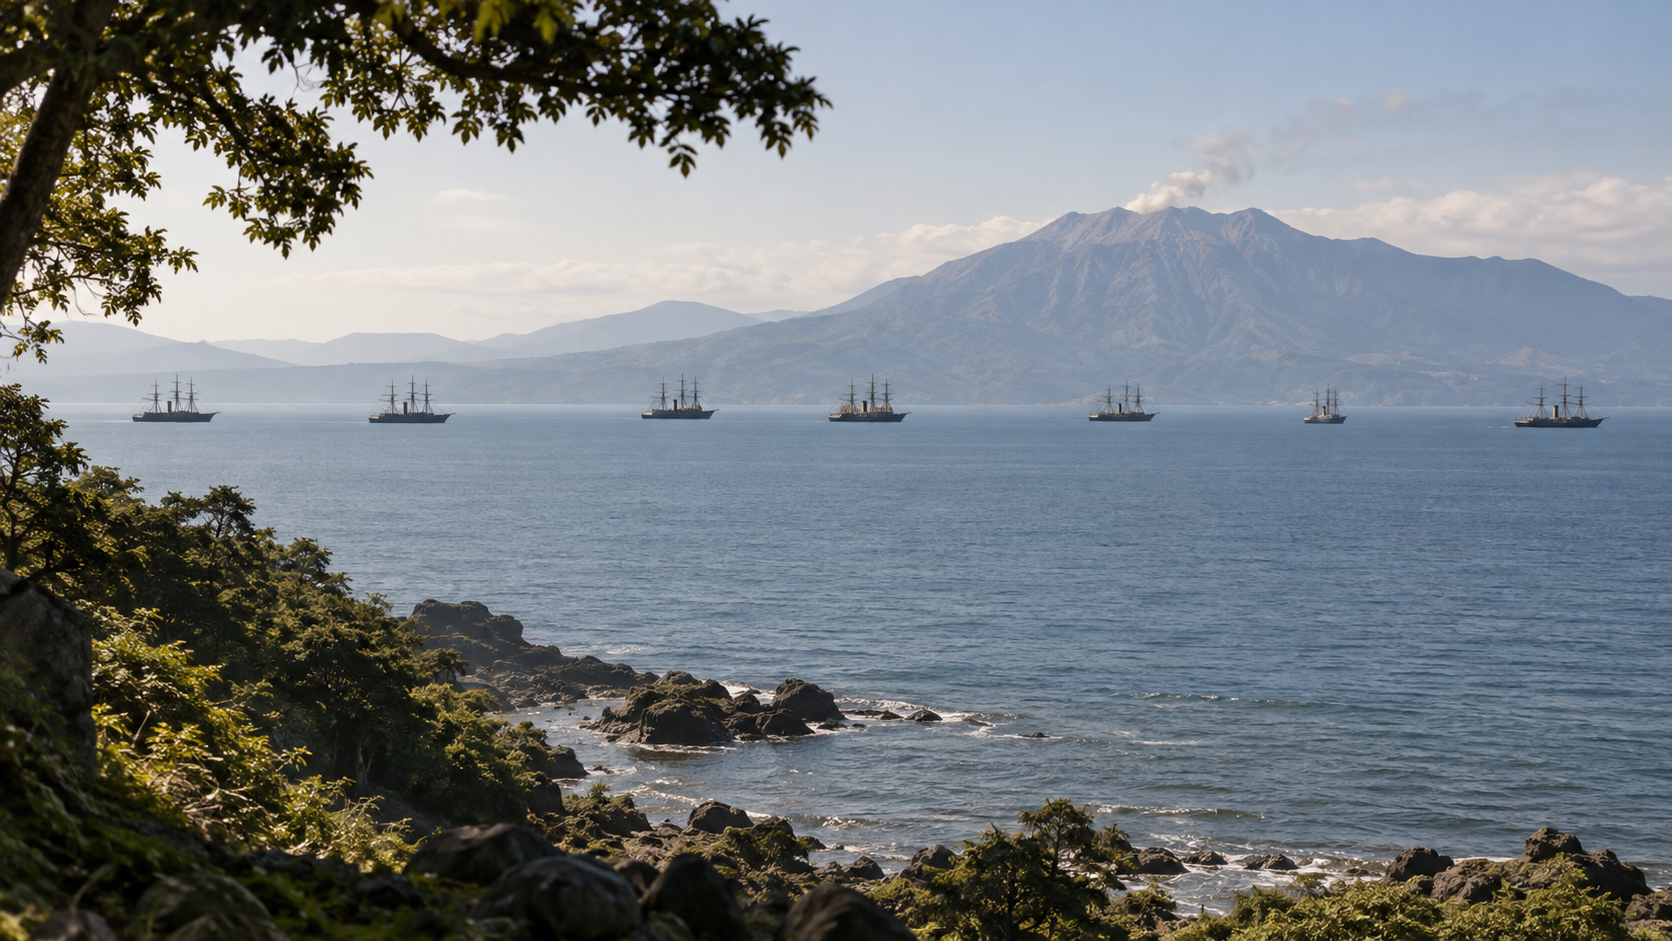
Reimeikan describes a British fleet of seven ships arriving at Kagoshima. Its introduction to Admiral Kuper’s journal identifies Euryalus as the flagship and places the fleet at anchor off Hirakawa on the twenty-seventh day of the sixth month of Bunkyū 3. This is one stage of the arrival sequence.
The introduction to orders concerning the war gives arrival at Maenohama on the twenty-eighth day of the sixth month. There is no need to erase one of the two dates. The places named and the stages from arrival in the bay to subsequent movement should be examined alongside the dates.
These sixth-month dates belong to the calendar then used in Japan. They should not be read as Gregorian June dates and placed directly alongside the later Gregorian August 15 opening of the fighting. A change in calendar labeling must not quietly become a change in the sequence of events.
The seven ships also represented force behind the demands. Their arrival, however, did not instantly eliminate exchanges by envoys. There was still time for negotiation before the gunfire. Keeping that interval visible helps distinguish the presence of a fleet from the commencement of an artillery battle.
Chapter 06
Envoys in motion, guns being prepared
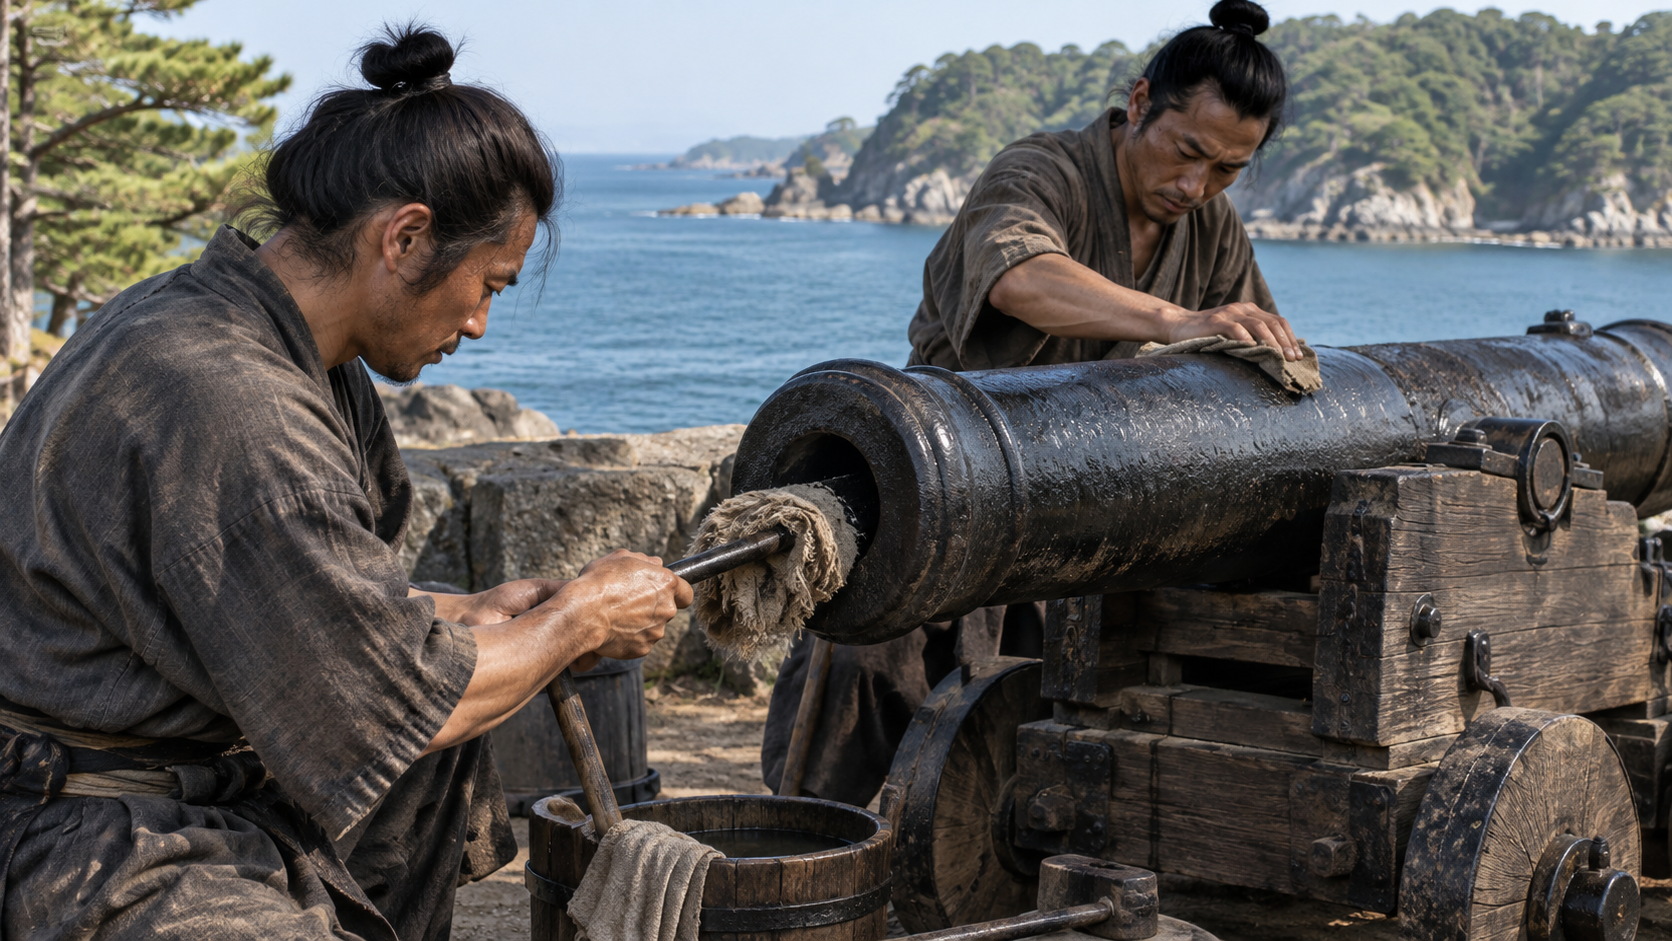
Preparations were under way in Satsuma before the fleet arrived. Reimeikan’s account of the relevant orders mentions live-fire exercises after the Namamugi Incident. In the sixth month of Bunkyū 3, a mock battle in the bay was reportedly held with Tadayoshi present. The domain was undertaking practical military activity.
Training attended by the lord accompanied preparations involving coastal batteries and cannon. Satsuma before the fighting cannot therefore be portrayed as merely waiting for ships to arrive. There were concrete preparations for the possibility of battle, even though preparation alone did not settle what would happen next.
At the same time, after the fleet’s arrival, envoys traveled between the two sides and discussion took place. Reimeikan’s summary states that the negotiations did not reach agreement. Training and negotiation existed alongside one another during this period. Neither should be removed from the account simply because fighting subsequently occurred.
The surviving orders and institutional account of training establish the presence of those preparations. They do not permit us to add the exact words someone used when issuing a command or the thoughts of an envoy confronting another person. Such details remain outside the consulted explanation.
Chapter 07
From seized domain ships to bombardment
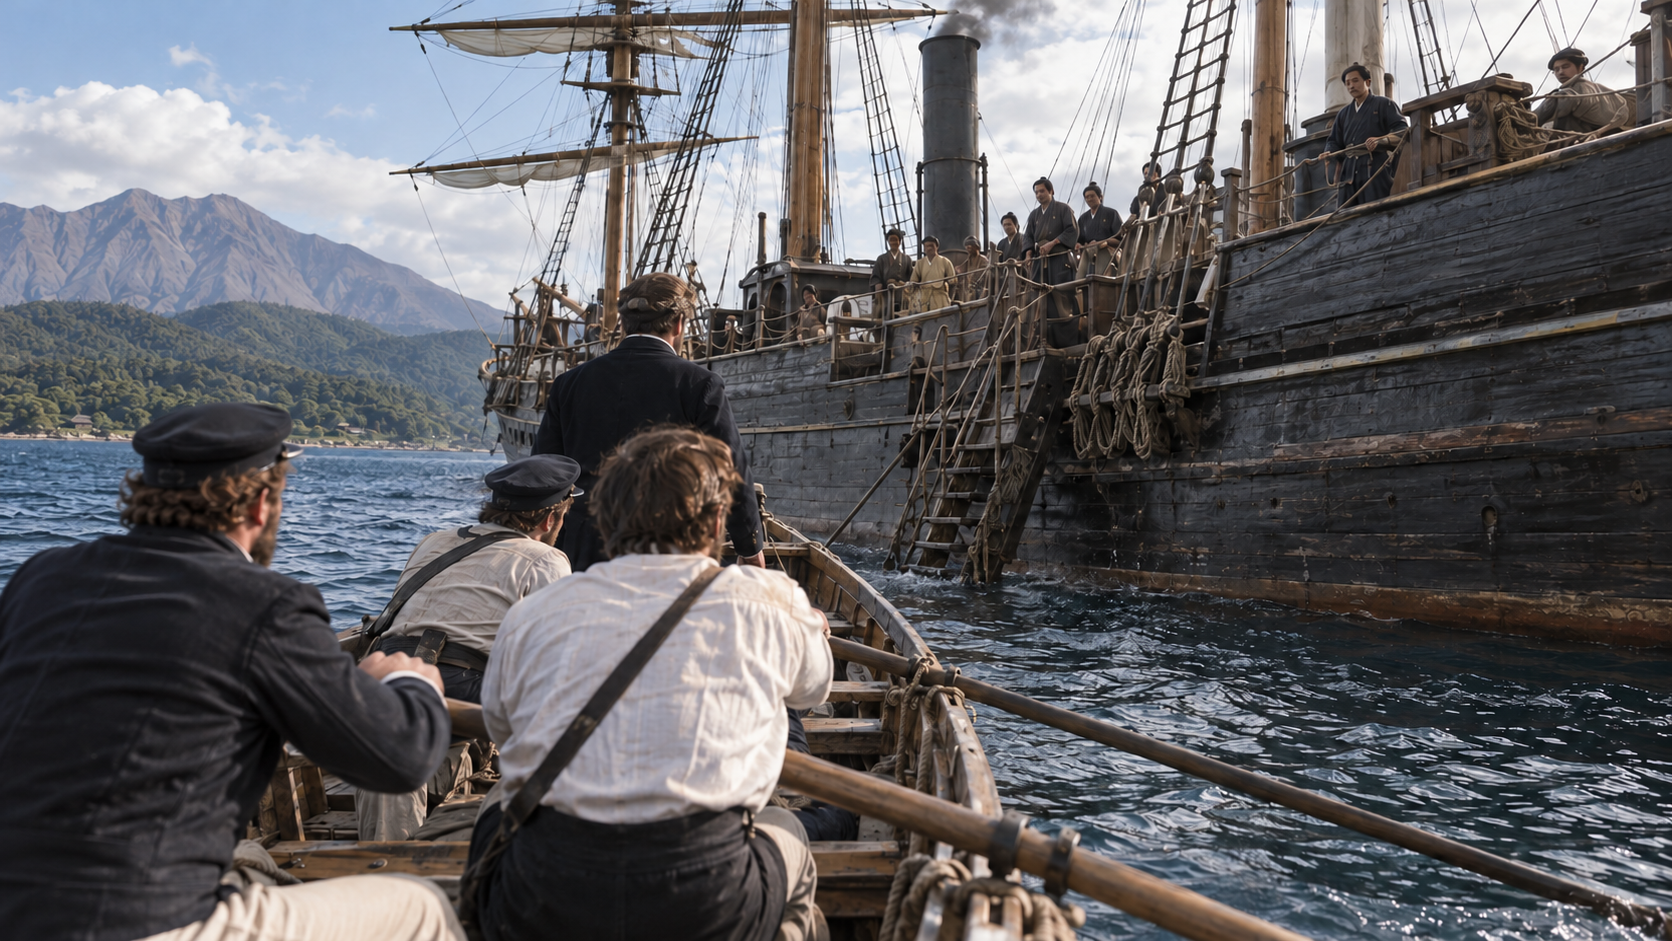
The artillery battle began on August 15, 1863, the second day of the seventh month of Bunkyū 3. JACAR identifies the British seizure of Satsuma steamships as the immediate occasion for the fighting. The paired date anchors this point in both calendars without converting every other date by assumption.
Reimeikan’s journal introduction gives the number of captured domain ships as three. It describes Satsuma’s batteries opening fire in response, followed by the British fleet’s bombardment. The action of taking control of the ships and the exchange of fire between land and sea should be followed in that order.
The same introduction describes fierce fighting in bad weather. That brief explanation does not establish the precise bearing of every vessel or the instant at which a particular shot struck. The article’s ships and coastal scenes are also imaginative illustrations rather than exact reconstructions of the actual vessels.
A fleet pressing demands, ships being seized and batteries firing: following these actions one by one reveals more than an exchange of shots existing from the outset. The gap in negotiations was followed by coercive action and the spread of fighting. The sequence gives each stage a place in the account.
Chapter 08
Damage beyond the places exchanging fire
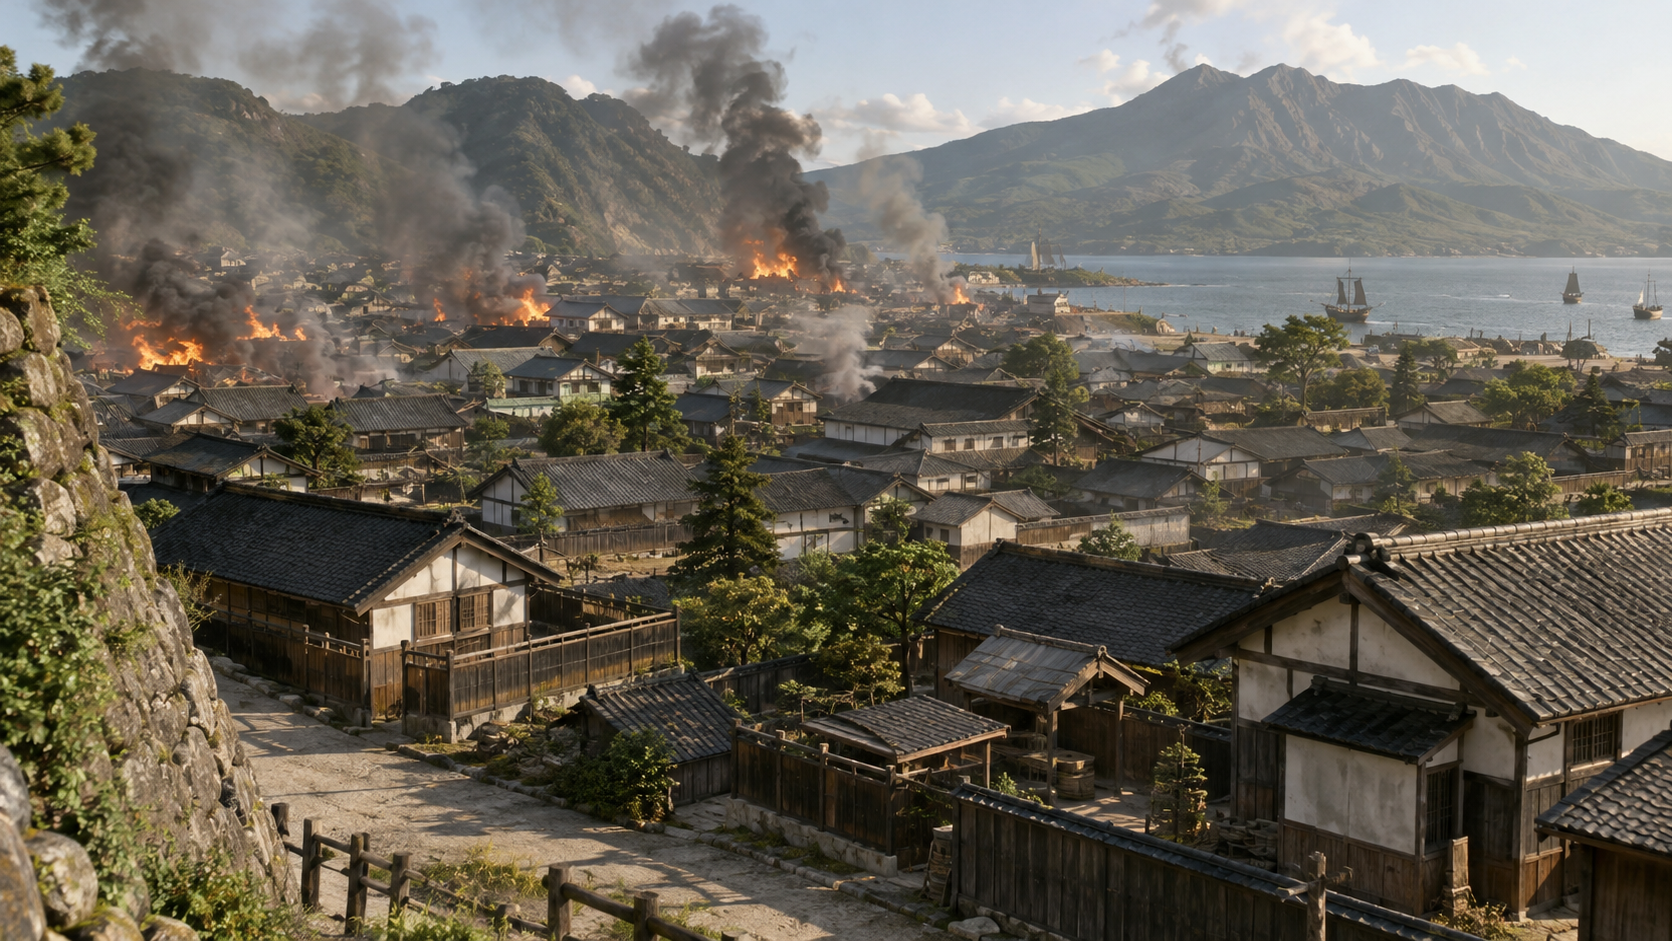
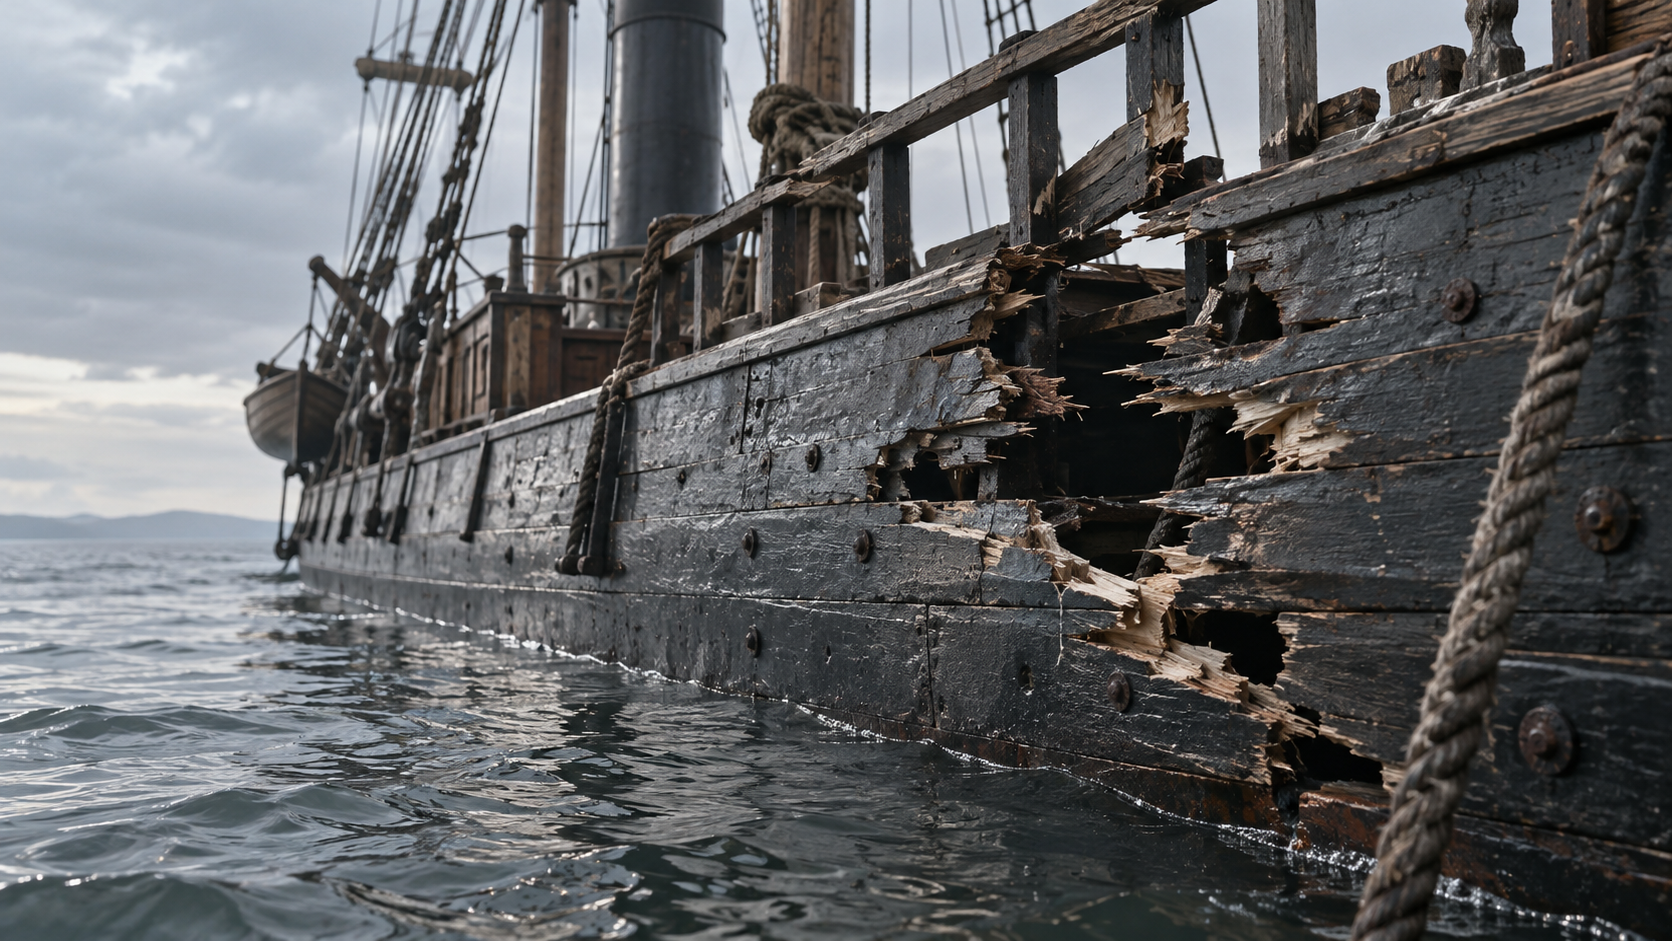
The consequences of the bombardment extended beyond batteries and ships. JACAR’s explanation states that by the following day, the third day of the seventh month, the castle town and Shūseikan had burned. The town and places where things were made also suffered damage during the fighting.
Shūseikan was a center of an undertaking concerned with factories and technical research. Damage to such a place cannot be understood only as a loss suffered by armed forces. Work involving learning, experimentation and production was also affected. These activities form part of the setting needed to understand what was damaged.
An imagined fire scene cannot establish which house burned at what time or what a particular person did there. The official explanation of damage should remain distinct from a visual expression intended to evoke it. A generated townscape does not supply a building-by-building record of destruction.
The narrative should not hurry toward postwar adoption of technology without considering the losses to the town and facilities. Before the work that people sought to continue, there were places that had been lost. Those losses remain part of the story when considering rebuilding and learning afterward.
Chapter 09
The cost borne by the fleet
The British fleet also suffered deaths and injuries. JACAR’s explanation mentions losses including Josling, captain of the flagship Euryalus. Listing the capabilities of ships is not enough to convey the human cost incurred aboard them. That cost remains part of the outcome alongside damage on shore.
Reimeikan’s journal introduction gives thirteen British dead and more than fifty wounded. This article treats those as figures in the introduction consulted here. They are not presented as a combined tally of all losses on both sides, nor as an independent recount of every casualty in the original journal.
Losses in the fleet do not by themselves establish an unqualified Satsuma victory. Conversely, the burning of the castle town alone cannot fully explain what remained after the conflict. Different measures of damage reveal different parts of the result, and a single label can conceal that complexity.
Ships and town, combat and negotiation: shifting the object of attention reveals different aspects of the fighting’s consequences. Rather than searching only for a victorious side, the account asks what each side lost and how it responded afterward. Loss and subsequent action both need to be considered.
Chapter 10
What was promised, and what was carried out
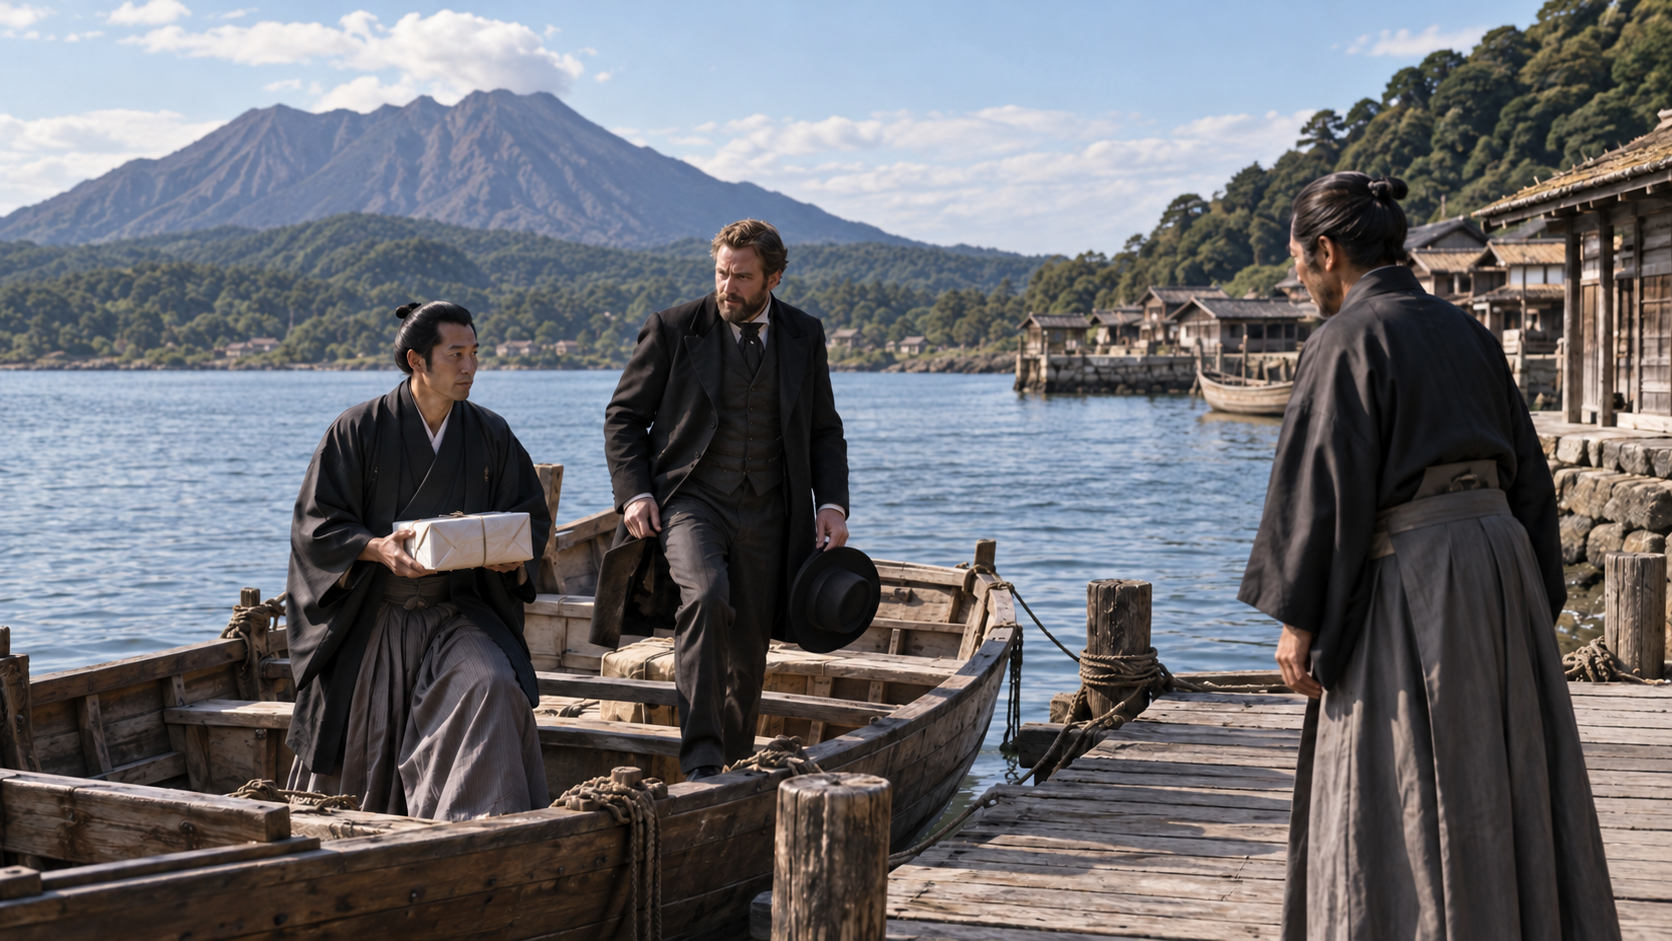
Negotiations continued after the fighting. JACAR’s explanation of the Anglo-Satsuma War states that Satsuma promised to pay compensation for the Namamugi Incident and to search for the perpetrators. These were commitments described in the account of postwar discussions, and should be read as such.
The related Namamugi Incident entry also describes an assurance that the perpetrators would be executed. The undertaking to search and the assurance concerning execution belong to the wording of the respective explanations. Those statements alone do not establish that an execution actually took place afterward.
Accepting conditions in negotiation and subsequently carrying them out are not the same event. A promise appearing in a document or explanation must not be silently turned into a completed action. The distinction matters even where a short summary encourages a reader to compress the whole settlement into one outcome.
Reimeikan describes the war as an occasion for both sides to recognize the other’s strength and for closer relations to develop. Experience of confronting an opponent could contribute to a change in relations. This is not compressed into a claim that an alliance was complete at the instant the bombardment ended.
Chapter 11
Shūseikan’s work began before the war
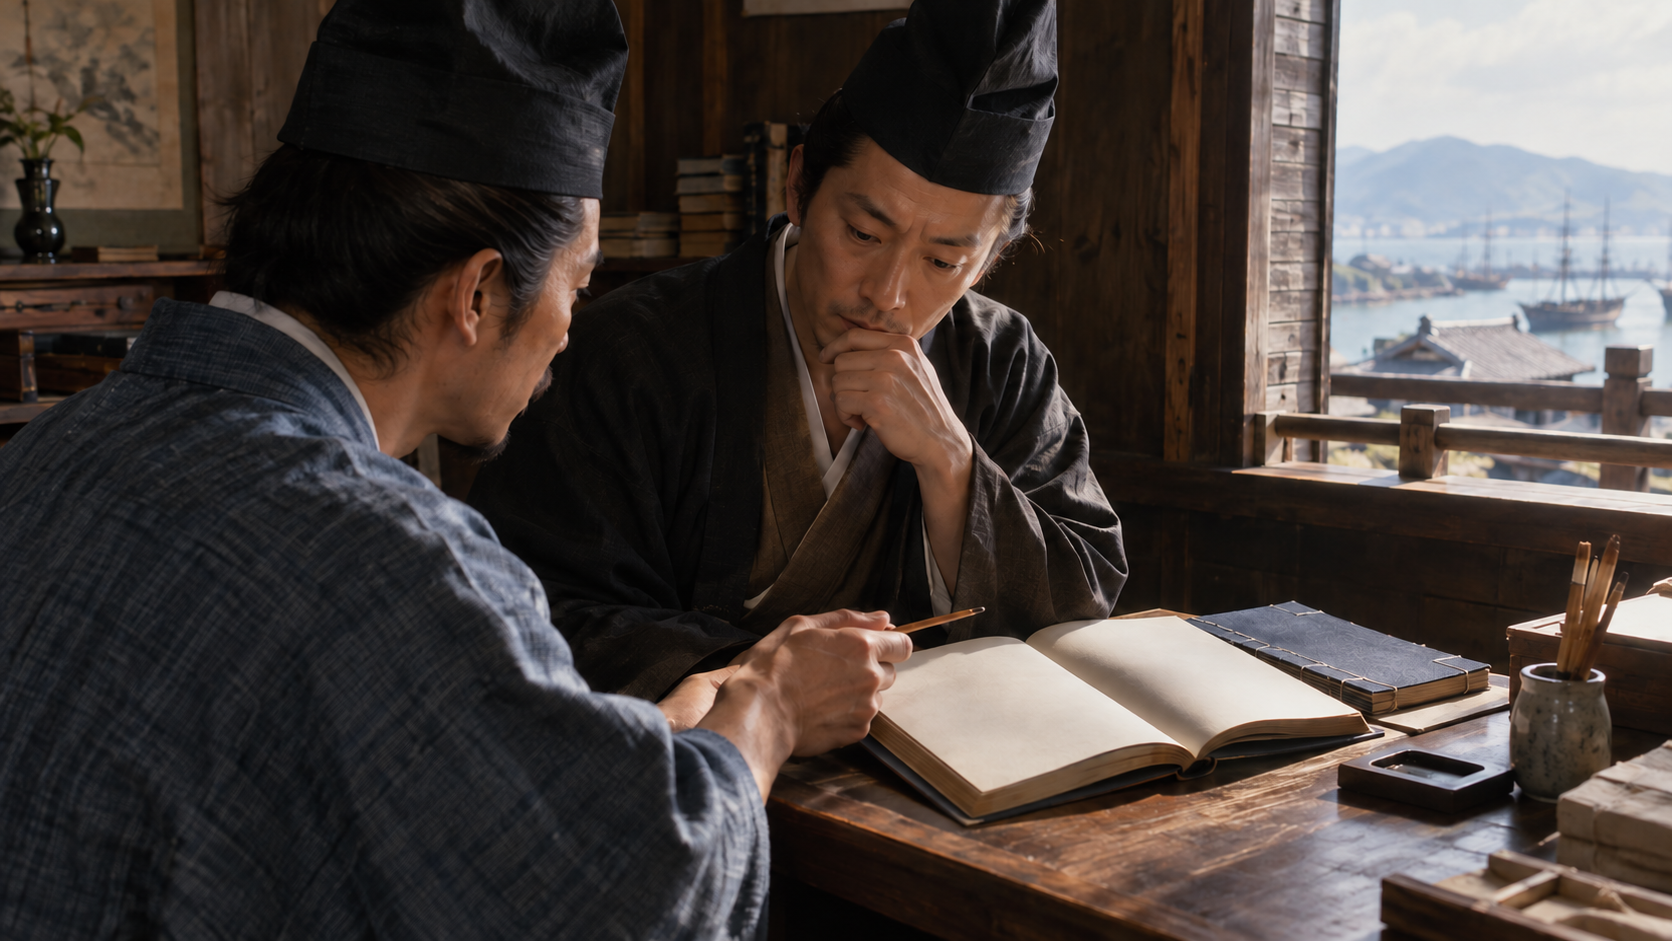
Satsuma’s interest in technology cannot be made to begin with the Anglo-Satsuma War alone. Kagoshima City’s leaflet describes Shimazu Nariakira, who became lord in 1851, advancing the Shūseikan undertaking. That earlier chronology matters when considering how the conflict affected work already under way.
Western technical books were translated and their contents tested in combination with Japanese techniques. Factories and research facilities were established before the war. Following Nariakira’s death in 1858, the undertaking was temporarily reduced in scale. War then became a further turning point in this existing history.
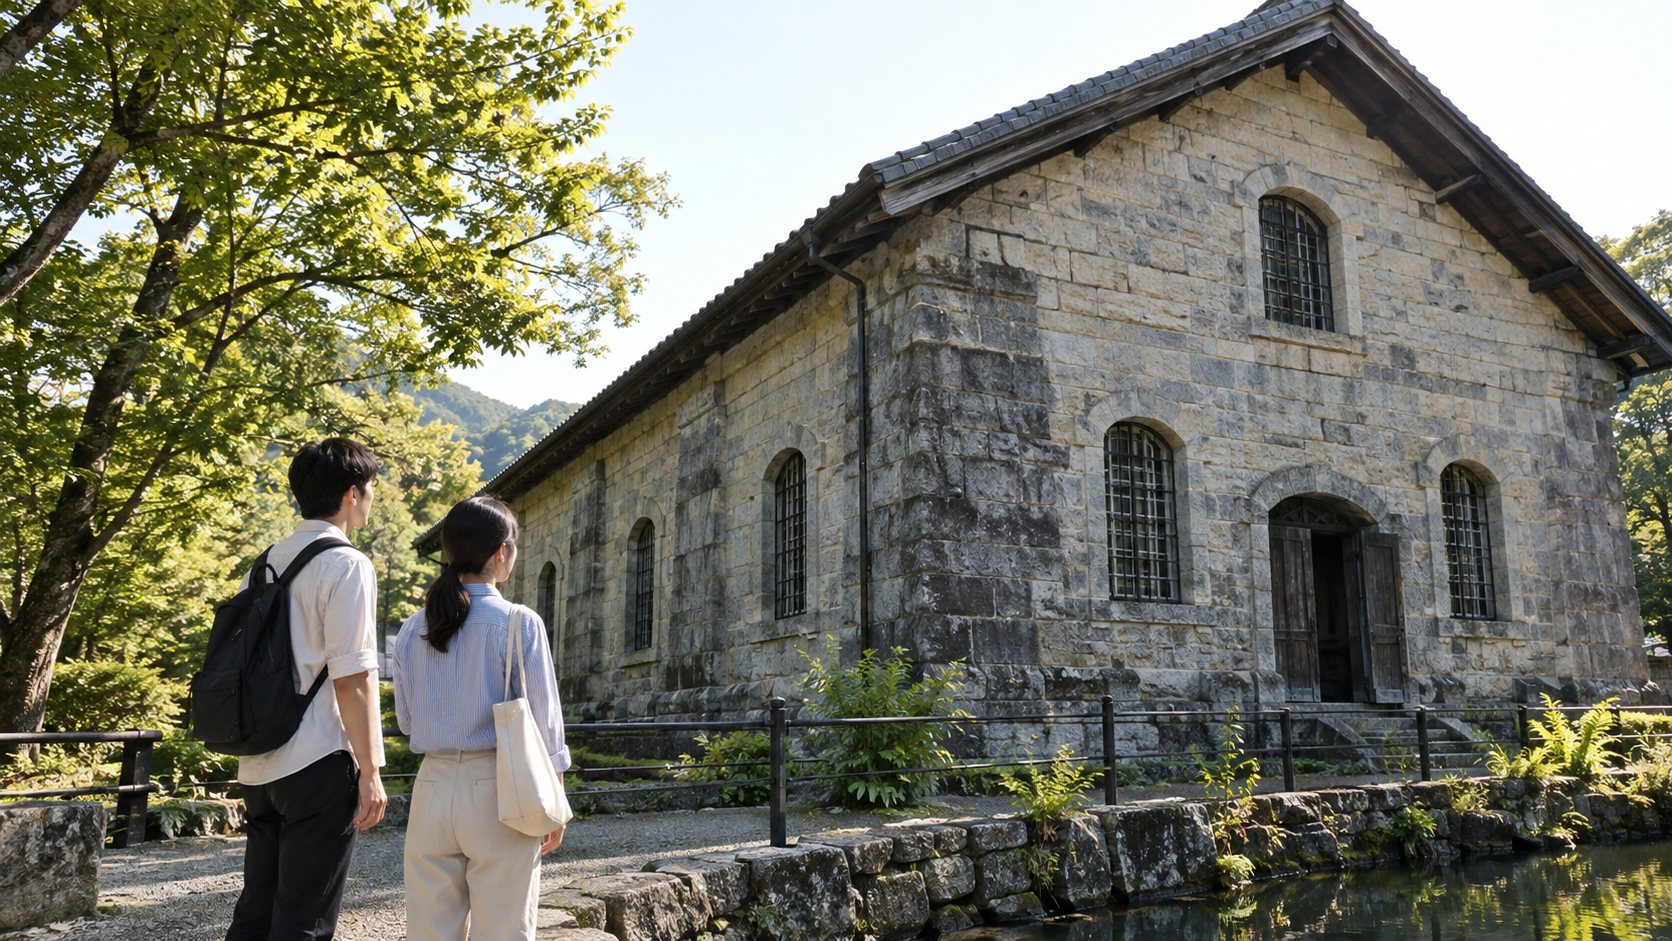
The same leaflet introduces the sending of students overseas and invitation of technical specialists afterward. It dates the surviving Shūseikan machinery factory to 1865 and the Kagoshima spinning mill to 1867. The stone factory standing today should not simply be substituted for a facility as it stood before the war.
Considering both the earlier work and methods that changed afterward makes the adoption of technology following the gunfire more intelligible. It was not an activity suddenly beginning where nothing had existed. It can instead be read as a continuing undertaking that had suffered loss and proceeded through changed circumstances.
Chapter 12
Negotiation on both sides of the gunfire
From violence at Namamugi to demands addressed to two parties, differing responses and the fleet’s arrival, the sequence continued through envoys’ exchanges, seizure of ships and an artillery battle. Following that order makes the path toward war concrete. It restores the actions between the road incident and the bay.
Damage to the castle town and Shūseikan, casualties in the fleet and renewed negotiations all belong to the account. Isolating the gunfire risks overlooking both what remained unresolved before the fighting and what changed afterward. The interval of battle was surrounded by work directed toward demands and responses.
Even when looking ahead to later technical exchange, the earlier initiatives need to be remembered. Present industrial heritage provides an entry into considering the work of the period. Current buildings and displays, however, should not be read as an unchanged view of the site in 1863.
Negotiation stands on both sides of the Anglo-Satsuma War’s gunfire. Reading damage, promises and continuing work helps us follow the time during which relations with a former opponent changed. That view reaches beyond the fighting in ways a single word for victory or defeat cannot.
How to read this work
History, interpretation, and reconstruction
Following the different demands and responses addressed to the shogunate and Satsuma, fleet arrival, ship seizure, bombardment and postwar discussions reveals the sequence and continuing work around the conflict.
This work is grounded in published sources and historical research. Interior thoughts, dialogue, and some visual details are cinematic reconstructions. Where historians disagree, the article presents the point as debated rather than settled fact.
Timeline
The story in time
-
Nariakira becomes lord and advances the Shūseikan undertaking.
Sources: s08 -
The Namamugi Incident: Richardson dies and two people are seriously wounded. Gregorian and historical-calendar dates are given together.
Sources: s04 -
The surviving Shūseikan machinery factory dates to 1865, and the Kagoshima spinning mill to 1867.
Sources: s08
People & terms
A guide for new readers
Key figures
- Shimazu Hisamitsu
- Held effective power under the title kokufu and pursued reform of the shogunate in 1862.
- Shimazu Tadayoshi
- Lord of Satsuma at the time; attended a mock battle before the conflict.
- Shimazu Nariakira
- Became lord in 1851 and advanced the Shūseikan industrial undertaking.
Glossary
- Anglo-Satsuma War 薩英戦争
- The fighting between Satsuma and a British fleet in Kagoshima Bay in 1863, considered here together with the demands and negotiations before and after it.
- Satsuma domain 薩摩藩
- The domain whose response to British demands is distinguished from the shogunate’s; its center at Kagoshima is the setting of the bay fighting.
- Bakufu 幕府
- The shogunate, the military government conducting negotiations with foreign powers. Its response did not settle Satsuma’s separate demands.
- Domain lord 藩主
- The office held by Tadayoshi at the time, distinguished from Hisamitsu’s effective authority.
- Kokufu 国父
- The title used in the National Diet Library’s description of Hisamitsu’s position after his eldest son became lord. It is not substituted for the office of domain lord.
- Tōkaidō 東海道
- The road on which the Namamugi Incident occurred during Hisamitsu’s party’s return from Edo.
- Namamugi Incident 生麦事件
- The 1862 attack on British riders described in the official accounts, in which Richardson died and two others were seriously wounded.
- Bunkyū 文久
- The Japanese era label used here with historical-calendar months and days. Explicit Gregorian equivalents are supplied only where the source gives them.
- Daiba 台場
- A coastal battery, one of the positions involved in the exchange of fire with the fleet.
- Ship seizure 拿捕
- The taking of Satsuma vessels by the British fleet, identified in the official explanations as the immediate occasion for the artillery battle.
- Shūseikan 集成館
- The industrial undertaking and associated facilities discussed in Kagoshima City’s leaflet, with work beginning before the war and changing afterward.
- Bakumatsu 幕末
- The closing period of the shogunate, the wider setting for the incident, reforms and conflict discussed here.
Sources & method
How this article was built
This English manuscript translates the fixed, publicly verified Japanese article’s twelve chapters, three listed historical people, six timeline entries and eight source entries. Source and scene IDs retain their original order. Reference titles are editorial English renderings.
Relevant text on five static official HTML pages was consulted. For the two JACAR entries, direct web extraction returned a JavaScript shell; the retained text of the Japanese reviewer’s actual visible browser readings was read and pinned instead. The first retained PDF page of Kagoshima City’s leaflet was visually inspected. No complete independent reading of the original diplomatic correspondence, orders or Kuper journal is claimed.
Hisamitsu’s position and Tadayoshi’s office are kept distinct. The shogunate’s response to compensation does not become full settlement of every demand addressed to Satsuma. The attack’s human consequences are retained without treating an explanation of the encounter as a justification.
Historical-calendar month-and-day labels remain explicit. Hirakawa anchorage on sixth-month day 27 and Maenohama arrival on day 28 are retained with their locations and stages; neither is erased or silently converted to Gregorian June. Only the source’s explicit paired Gregorian dates are used.
Seizure, Satsuma battery fire and subsequent fleet fire retain their sequence. Figures for British losses are attributed to the museum’s introduction, not presented as a complete tally for both sides. Promises concerning a search or execution do not become proof that execution occurred.
The existing Shūseikan machinery factory dates to 1865; the spinning mill dates to 1867. Industrial work before the conflict and changes afterward are distinguished. Later rapprochement is not treated as a complete alliance achieved the moment fighting ceased.
All twelve adopted generated illustrations were actually viewed in the retained contact sheet. Canonical bytes and article-use rights are checked against the Japanese review. Anonymous fictional figures, generic ships and imagined scenery are not authenticated portraits, documentary photographs or exact battle reconstructions. Smoke above the mountain does not establish an eruption in 1863. Scene 12 is an imagined present-day heritage visit. Institutional photographs, leaflet diagrams and document images are not reproduced.
No conversation, private thought, exact firing position, shot impact, vessel specification or house-by-house casualty account is added. The linked video has Japanese audio; English subtitles are unverified. The retained video proof distinguishes native caption inspection from the watch page’s unavailable-caption label.
Sources
References and further reading
- The Anglo-Satsuma War 薩英戦争 Title translated editorially for reader convenience. Kagoshima Prefectural Reimeikan Center for Historical Material 鹿児島県歴史・美術センター黎明館 Relevant official HTML consulted. The institution’s account of closer relations is not expanded into an instant alliance; institutional photographs are not reproduced. Accessed 2026-10-17
- Portraits of Modern Japanese Historical Figures: Shimazu Hisamitsu 近代日本人の肖像・島津久光 Title translated editorially for reader convenience. National Diet Library 国立国会図書館 Relevant official HTML consulted. Hisamitsu’s effective authority under the title kokufu is distinguished from Tadayoshi’s office as lord. The portrait is not reproduced. Accessed 2026-10-17
- Learning about Asian Historical Records: The Anglo-Satsuma War アジア歴史資料ラーニング・薩英戦争 Title translated editorially for reader convenience. Japan Center for Asian Historical Records, National Archives of Japan 国立公文書館アジア歴史資料センター The retained text of the actual visible browser reading was consulted; the direct web extraction returned only the JavaScript shell. The underlying original diplomatic records are not claimed as fully read or reproduced. Accessed 2026-10-17
- Learning about Asian Historical Records: The Namamugi Incident アジア歴史資料ラーニング・生麦事件 Title translated editorially for reader convenience. Japan Center for Asian Historical Records, National Archives of Japan 国立公文書館アジア歴史資料センター The retained text of the actual visible browser reading was consulted; the direct web extraction returned only the JavaScript shell. Promises described in the entry are not converted into proof of later execution. Accessed 2026-10-17
- The Namamugi Incident, Part One 第1回 生麦事件その1 Title translated editorially for reader convenience. Tsurumi Ward, Yokohama City; Tsurumi History Association 横浜市鶴見区・鶴見歴史の会 Relevant official HTML consulted for the monument mourning Richardson. The inscription and photographs are not reproduced; place-name origins and conflicting construction-date details are not adopted. Accessed 2026-10-17
- Orders Concerning the Anglo-Satsuma War 薩英戦争関係諸達 Title translated editorially for reader convenience. Kagoshima Prefectural Reimeikan Center for Historical Material 鹿児島県歴史・美術センター黎明館 Relevant official HTML introduction consulted for preparations, Tadayoshi’s presence at a mock battle, Maenohama arrival and envoys. No complete independent reading of original orders is claimed. Accessed 2026-10-17
- Admiral Kuper’s Journal of the Anglo-Satsuma War クーパー提督薩英戦争日誌 Title translated editorially for reader convenience. Kagoshima Prefectural Reimeikan Center for Historical Material 鹿児島県歴史・美術センター黎明館 Relevant official HTML introduction consulted. Its account of seven ships, three captured domain ships and British losses is distinguished from an independent reading of the original journal. Accessed 2026-10-17
- Sites of Japan’s Meiji Industrial Revolution: Kagoshima Leaflet 明治日本の産業革命遺産リーフレット Title translated editorially for reader convenience. Kagoshima City 鹿児島市 The retained PDF’s first page was visually inspected for the Shūseikan undertaking and chronology. No claim is made to have read both pages; maps, photographs and diagrams are not reproduced. Accessed 2026-10-17
Continue reading
More stories from Shigeki
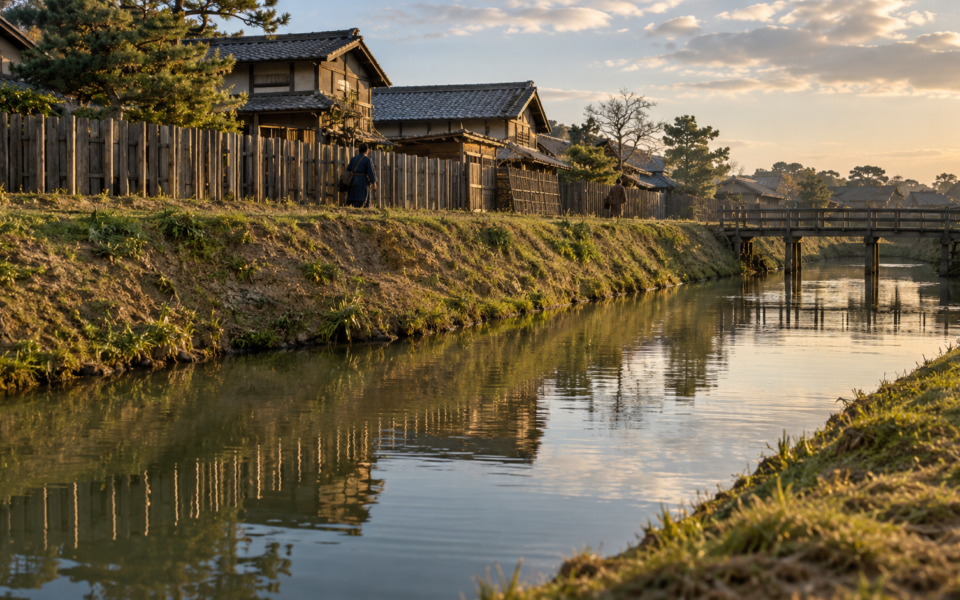
Shigeki English
Sakai’s Merchant City: Trade, Self-Government and Survival
A port, a merchant council and town communities—from changing authority to rebuilding after fire.
- When From the later fifteenth century through the Sengoku period, the fire of 1615 and early Edo-period reconstruction.
- Where Sakai, in present-day Osaka Prefecture, where maritime routes met roads on land.
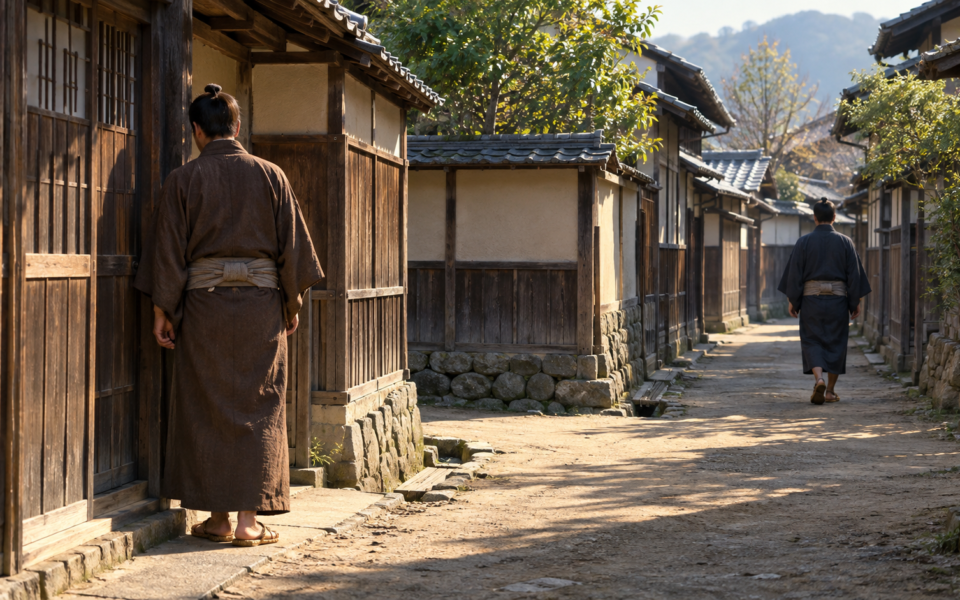
Shigeki English
The Aburanokōji Incident: After Leaving the Shinsengumi
A separation in spring, a new base in summer, and two successive attacks.
- When Kyoto in Keiō 3 (1867). The incident’s historical date corresponds to December 13, 1867.
- Where Kyoto: the guards’ successive bases, the Aburanokōji attack site and the later place of remembrance.